
Cooking on a budget is a great way to save money while still enjoying delicious meals; and for people with coeliac disease, is also the best way to manage the risk of cross-contamination.
Rising food costs, along with the already increased cost of following a gluten-free diet can be extremely challenging for coeliacs. Becky Maarschalk one of our volunteers in Southland had even heard of coeliacs who have chosen to eat gluten-containing food as they could not afford GF alternatives. Motivated to make a difference, Becky set about developing a workshop aimed to provide ideas for cheap and/or convenient gluten-free food options as well as suggestions and strategies for planning ahead to ensure that last-minute safe food was available when needed.
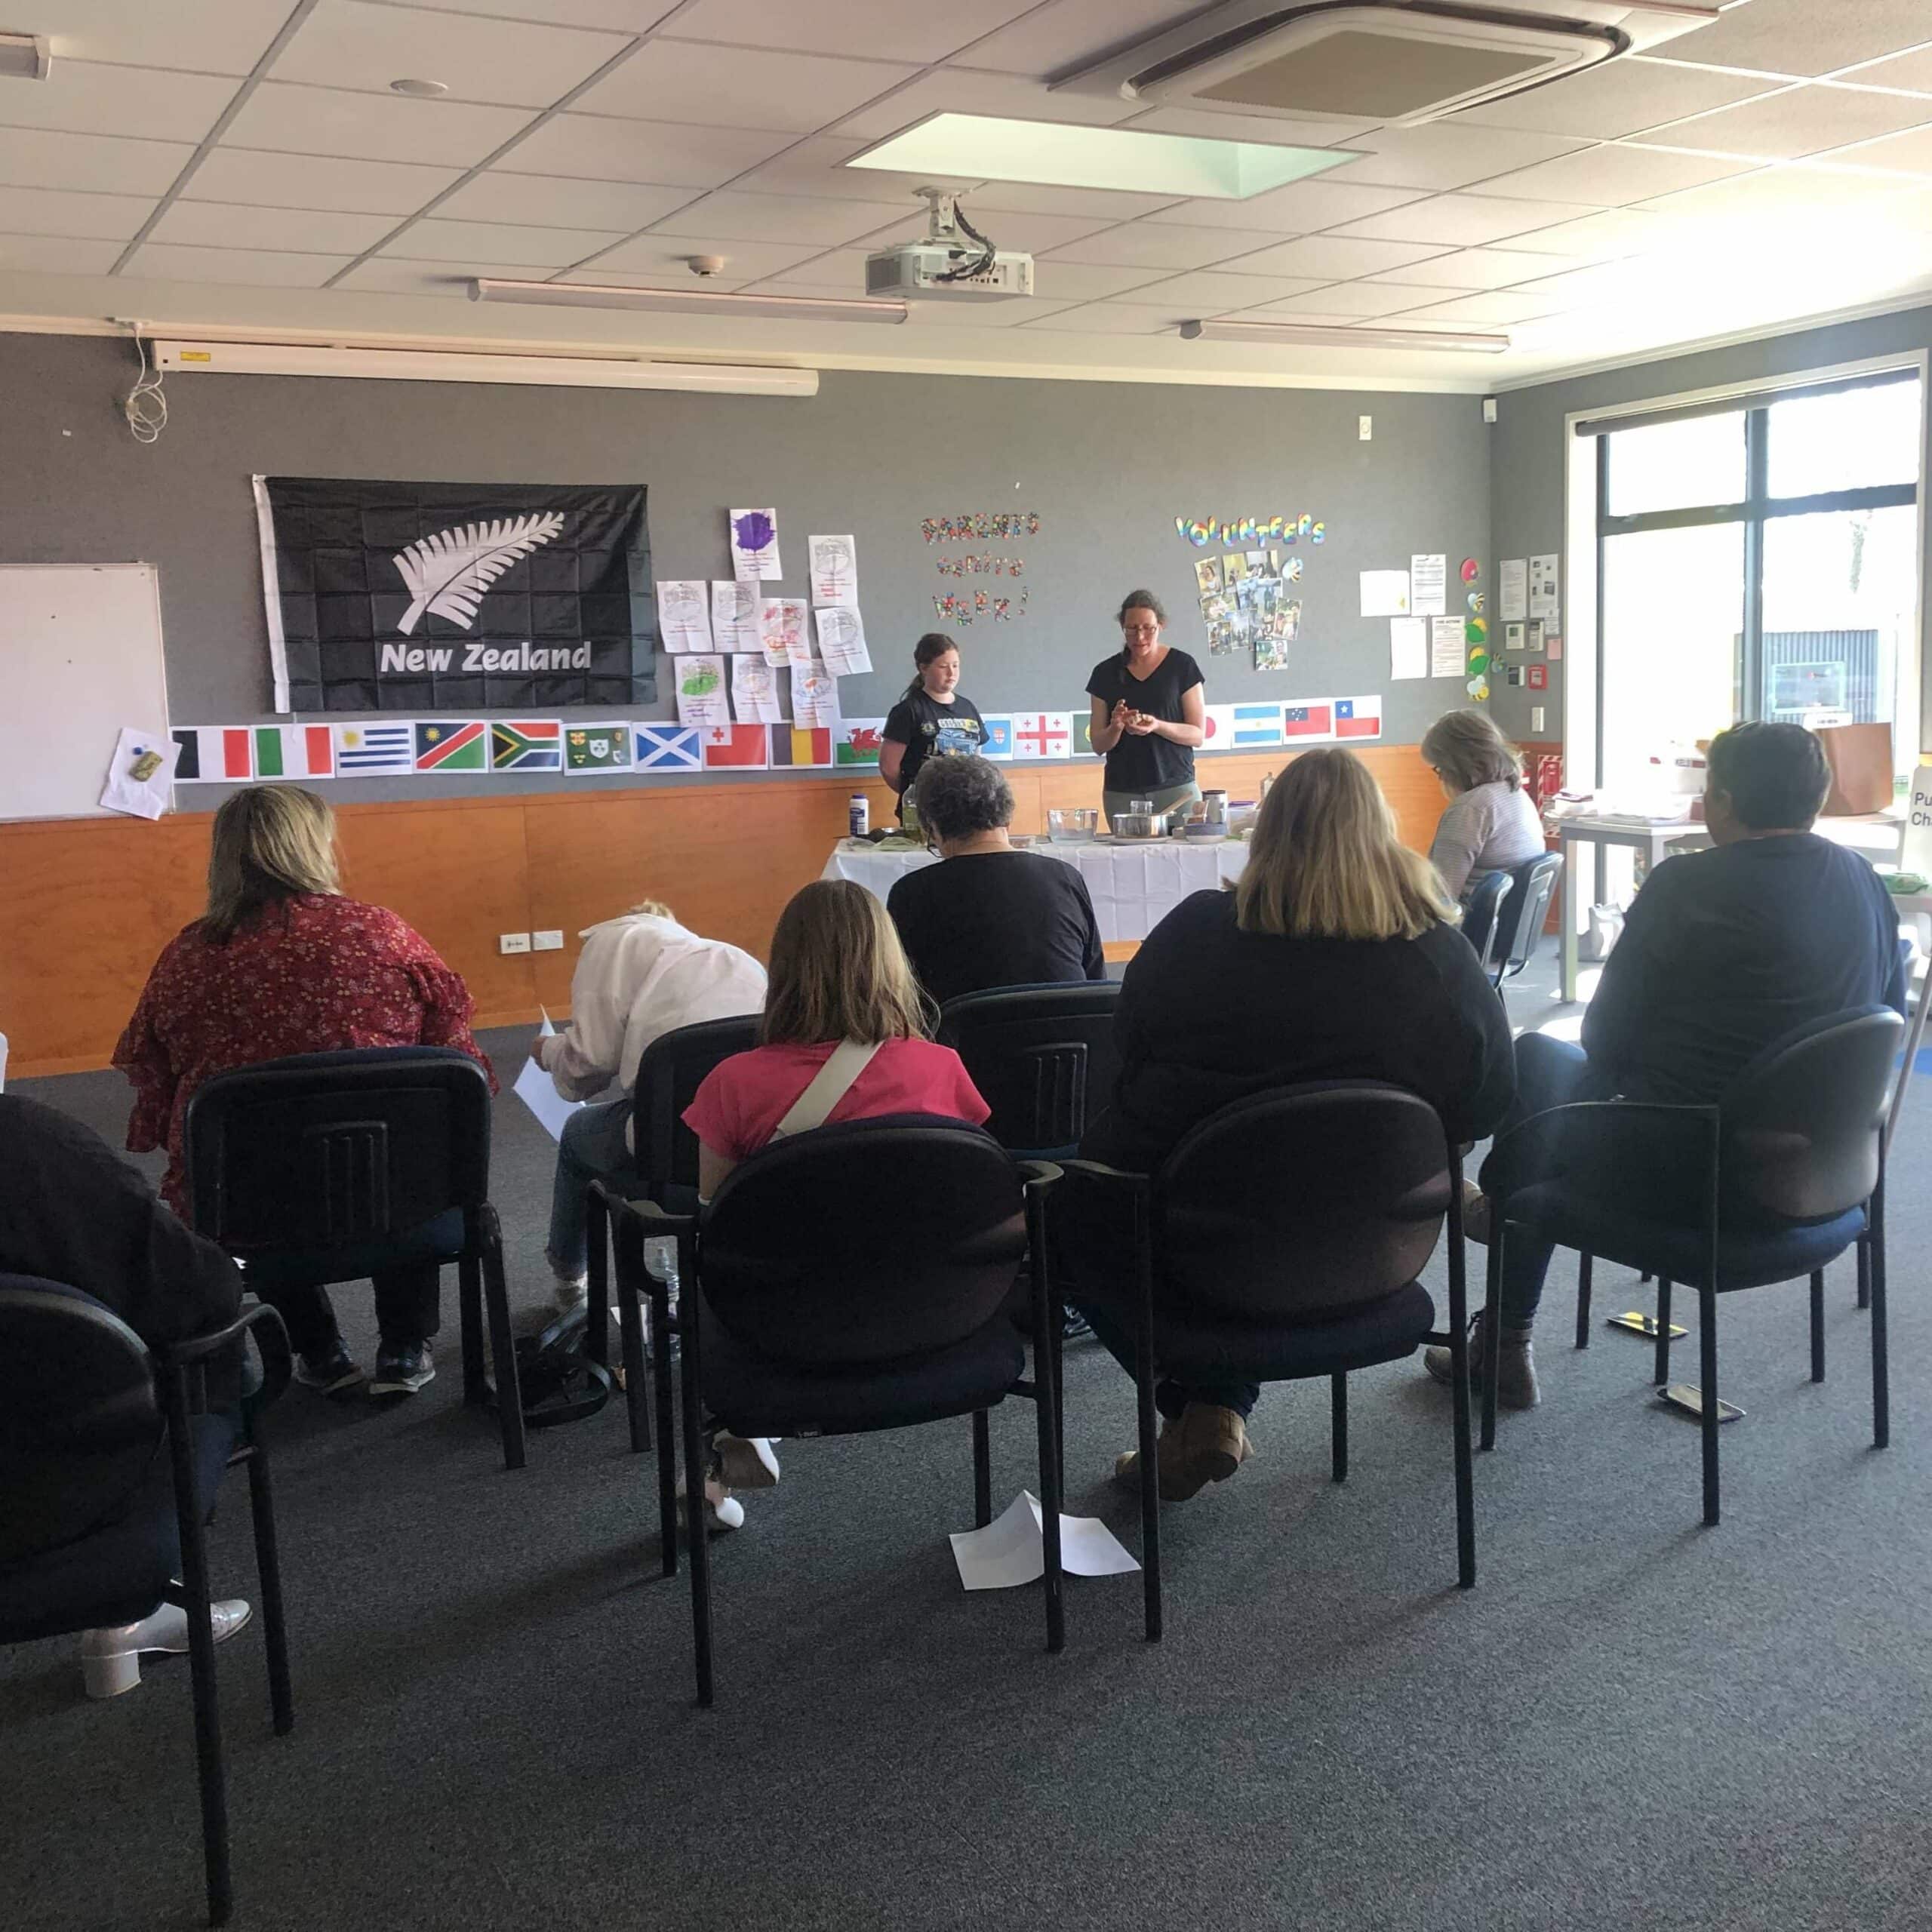
The first event was held in Gore with a group of 14 people, including one person who traveled from Mosgiel and the two Coeliac NZ volunteers Becky Maarschalk and Wendy Shaw who hosted it. They had a set agenda for cooking rice porridge, slow cooker risotto, gluten-free bread, and tasting the new Arnotts 180-degree crackers with the garlic and yogurt dressing/dip that they made.
In terms of logistics – Becky was reluctant to cook in a kitchen that also handles gluten so used her own equipment and did not plan anything that involved baking in an oven. They started by talking about general cost-saving ideas and Wendy shared her recipe for homemade seasoning mixes and other condiments that are cheaper to make than buy. They then prepared a slow cooker risotto and rice porridge from leftover rice and rice flour, as an alternative to buying the more expensive rice flakes.
Wendy then demonstrated how to make homemade crepes which can be stored in the freezer ready for use, and reheated with either a sweet or savoury filling. They then made a dip for the crackers, which also doubled as a dressing for their next recipe, which was flatbreads, made with the Bakels flour which had been kindly donated to Coeliac New Zealand. The audience tasted the crackers and dip while we made the flatbreads, which were then filled with packaged cooked chicken (to try to show a convenient option), salad, and dressing, and the audience was then able to taste them. Everyone seemed to like the crackers with a number saying on the feedback form that they would buy them if they saw them in a supermarket.
Becky & Wendy provided samples of the gluten-free bread that they had pre-prepared and guided the audience to mix the dry ingredients for the bread so they could take it home and try adding water and making it themselves.
Everyday Gluten Free Bread
Ingredients
Method
If you would like copies of the other recipes please email healthpromotion@coeliac.org.nz